

You must have always wondered how to create different figures & shapes in iOS. Creating a rectangle and circle is easy, every view is itself a rectangle and if you ever want to create a circle you can use cornerRadius property. But what about complex shapes? How can we create a triangle which has a weird shape inside it? It is all possible CAShapeLayer
We will start by learning how to create simple figures using UIBezierPath and CAShapeLayer , and move on to creating masks and complex figures using the same two things.
Basic shapes & figures
Every view in iOS has a CALayer with it which can be used to add multiple customised layer inside it. It works similar to any UIView , we can have a parent view and add multiple child views inside it. Similarly iOS provides us with a parent layer for every view and we will create separate layers for creating different shapes and then add that layer to the main layer.
Drawing a Rectangle
class MyViewController : UIViewController {
let containerView: UIView = {
let view = UIView()
view.backgroundColor = .clear
return view
}()
override func viewDidLoad() {
super.viewDidLoad()
containerView.frame = CGRect(x: view.frame.width/2 - 100, y: view.frame.height/2 - 100, width: 200, height: 200)
view.addSubview(containerView)
drawRectangle()
}
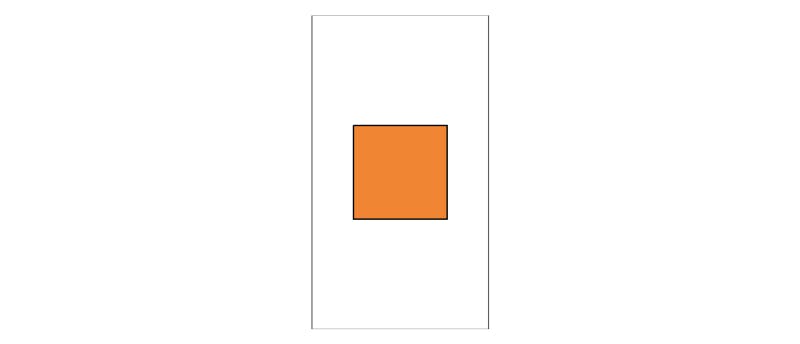
private func drawRectangle() {
let path = UIBezierPath()
path.move(to: CGPoint(x: 0, y: 0))
path.addLine(to: CGPoint(x: 200, y: 0))
path.addLine(to: CGPoint(x: 200, y: 200))
path.addLine(to: CGPoint(x: 0, y: 200))
path.addLine(to: CGPoint(x: 0, y: 0))
let shapeLayer = CAShapeLayer()
shapeLayer.path = path.cgPath
shapeLayer.strokeColor = UIColor.black.cgColor
shapeLayer.fillColor = UIColor.orange.cgColor
shapeLayer.lineWidth = 3
containerView.layer.addSublayer(shapeLayer)
}
}
Output looks like this:
Let’s understand what all we did to achieve this.
- We have created a
containerViewon which we will draw our custom shapes. - Inside
drawRectanglemethod we first create a path usingUIBezierPathand then draw all the four side of a rectangle usingaddLinemethod. Before adding all the lines we have used a methodmoveTowhich is used to point at the place where our path will start drawing. - After that we have created a new layer of type
CAShapeLayerwhose path is the custom path that we created above. We also assigned some colour properties and line width to make our rectangle look a bit nice. - At last we used the
containerView'slayer and added our layer to it as asubLayer
Drawing a Triangle
private func drawTriangle() {

        let path = UIBezierPath()
        path.move(to: CGPoint(x: 0, y: 200))
        path.addLine(to: CGPoint(x: 100, y: 0))
        path.addLine(to: CGPoint(x: 200, y: 200))
        path.addLine(to: CGPoint(x: 0, y: 200))

        let shapeLayer = CAShapeLayer()
        shapeLayer.path = path.cgPath
        shapeLayer.strokeColor = UIColor.red.cgColor
        shapeLayer.fillColor = UIColor.green.cgColor
        shapeLayer.lineWidth = 3

        containerView.layer.addSublayer(shapeLayer)
    }
Output looks like this:
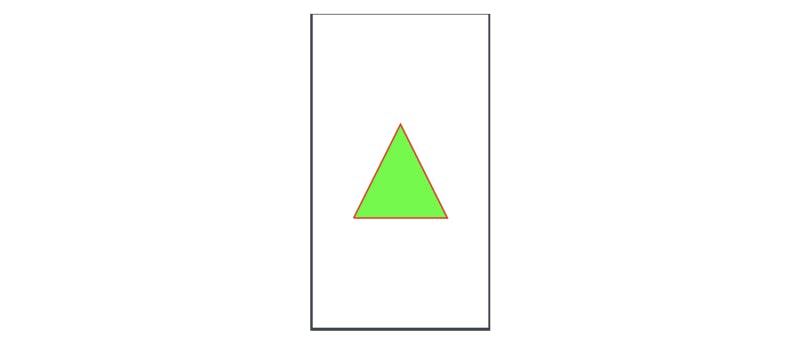
For creating a triangle there’s no magic. We have simply change the CGPoint inside addLine method to make it a rectangle.
Drawing an Oval/Circle
private func drawOval() {

        let path = UIBezierPath(ovalIn: containerView.bounds)

        let shapeLayer = CAShapeLayer()
        shapeLayer.path = path.cgPath
        shapeLayer.fillColor = UIColor.orange.cgColor
        shapeLayer.lineWidth = 3
        shapeLayer.strokeColor = UIColor.black.cgColor

        containerView.layer.addSublayer(shapeLayer)
    }
Output looks like this:
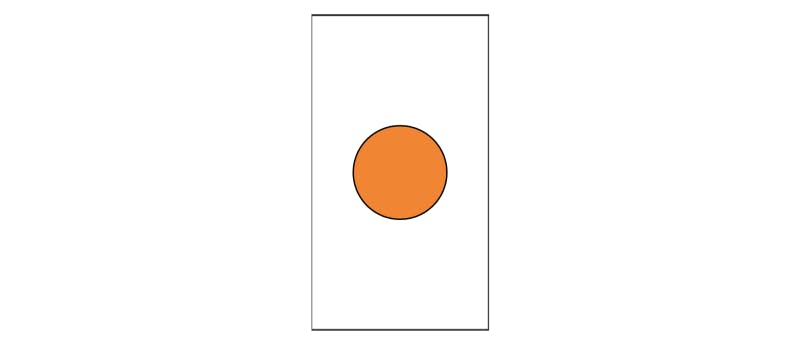
In this we didn’t create the path ourself. Swift provides us with some initialisers of UIBezierPath which can be used to draw shapes for us. In this case we used UIBezierPath(ovalIn: <CGRect>) , what it does is it takes a rectangle as an input and draws the biggest oval possible inside it. The height and width of our containerView is same that is why it created a circle for us, if we increase the height or width then the resulting figure would be an oval.
Drawing an Arc
private func drawArc() {

        let path = UIBezierPath(arcCenter: CGPoint(x: 100, y: 100), radius: 100, startAngle: 0, endAngle: .pi, clockwise: false)

        let shapeLayer = CAShapeLayer()
        shapeLayer.path = path.cgPath
        shapeLayer.fillColor = UIColor.orange.cgColor
        shapeLayer.lineWidth = 3
        shapeLayer.strokeColor = UIColor.black.cgColor

        containerView.layer.addSublayer(shapeLayer)
}
Output looks like this:
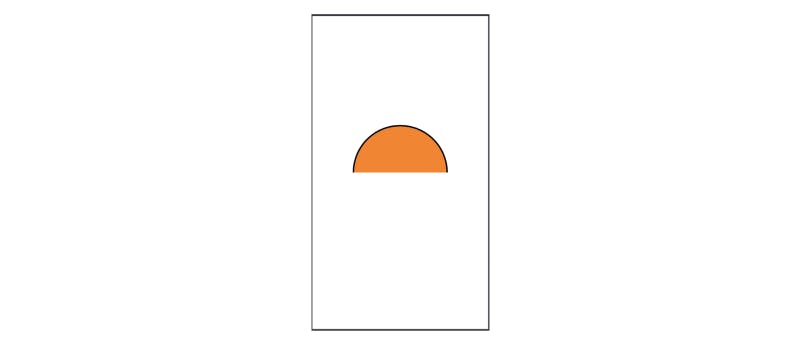
You will realise that we have used another initialiser for creating an arc using UIBezierPath , we can also create a circle using this method. Let’s breakdown the initialiser and understand what are the different parameters that it takes.
UIBezierPath(arcCenter: <CGPoint>, radius: <CGFloat>, startAngle: <CGFloat>, endAngle: <CGFloat>, clockwise: <Bool>
arcCenter-> This is the point from which the arc is drawn using it as a centre.radius-> Radius of the arcstartAngle-> The angle from which arc startsendAngle-> The angle where arc endsclockwise-> Whether the arc is drawn clockwise or not
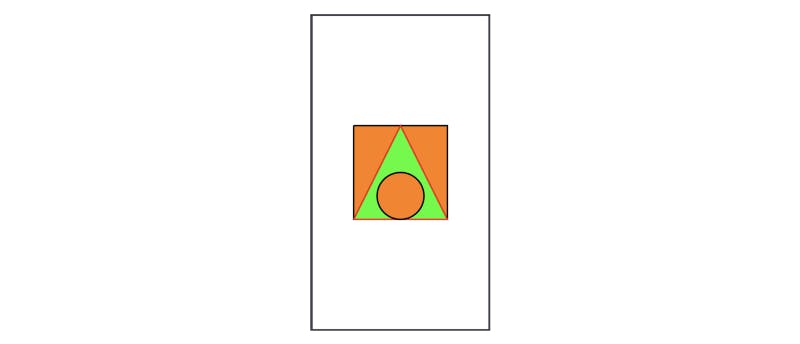
Adding multiple layers
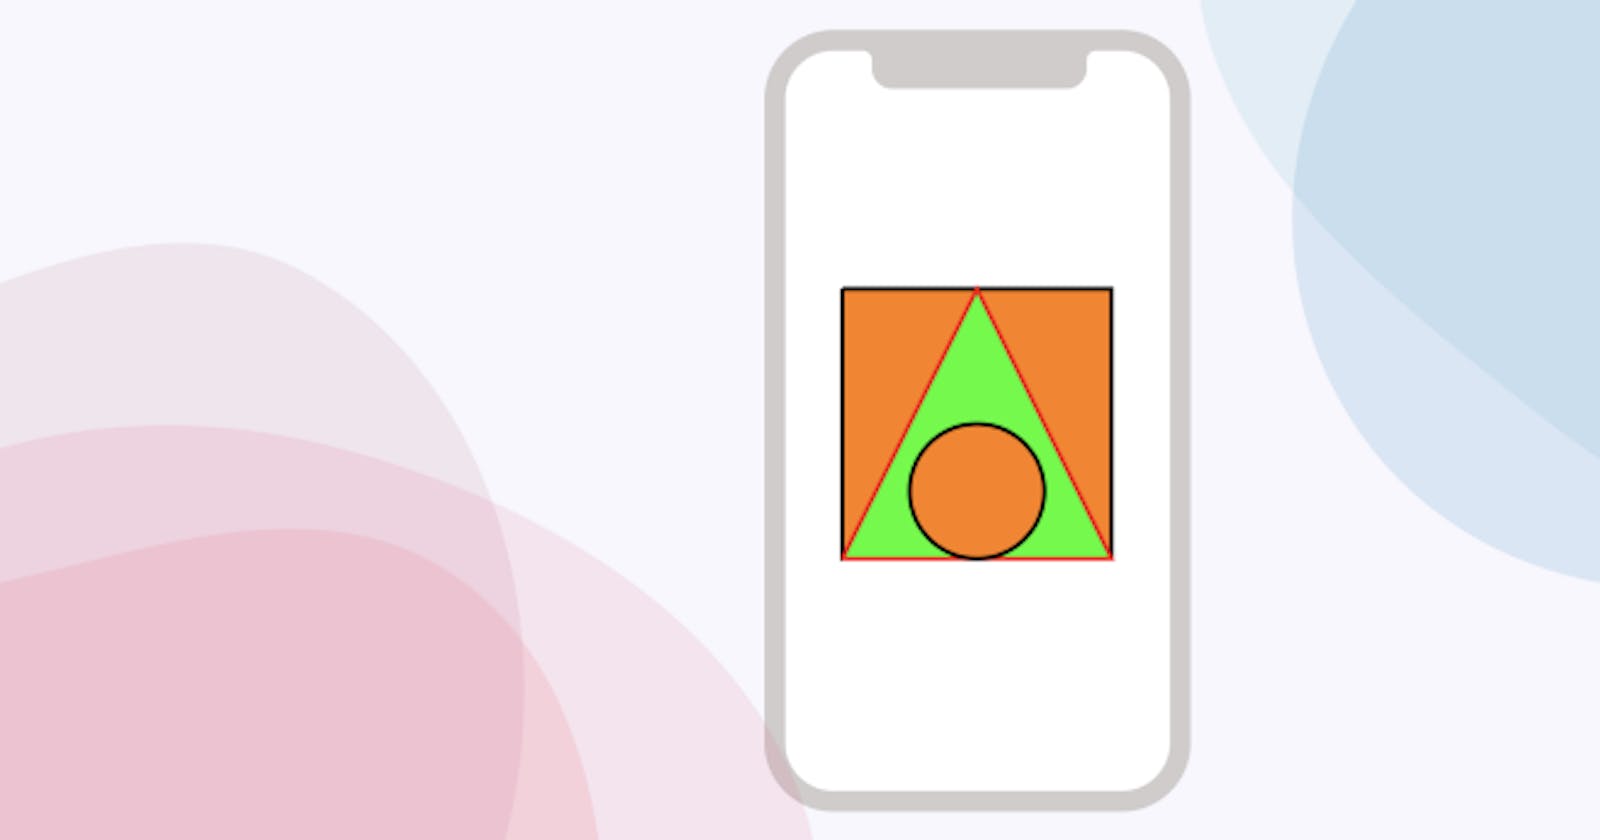
Recall that every view has a CALayer and we can add many sublayers to it. In this section we are going to create a rectangle which has circle and triangle inside it.
Three are four different methods by which we can insert a sublayer on to a layer:
addSublayer(<CALayer>)-> This simply adds a new layer on the top of the stack of layersinsertSublayer(<CALayer>, at: <UInt32>-> This method takes an extra parameteratwhich inserts the layer at the given position inside the stack of layersinsertSublayer(<CALayer>, above: <CALayer?>-> This method inserts the layer above a particular layerinsertSublayer(<CALayer>, below: <CALayer?>-> This methods inserts the layer below a particular layer
private func addMultipleLayers() {

        let path1 = UIBezierPath()
        path1.move(to: CGPoint(x: 0, y: 0))
        path1.addLine(to: CGPoint(x: 200, y: 0))
        path1.addLine(to: CGPoint(x: 200, y: 200))
        path1.addLine(to: CGPoint(x: 0, y: 200))
        path1.addLine(to: CGPoint(x: 0, y: 0))

        let path2 = UIBezierPath()
        path2.move(to: CGPoint(x: 0, y: 200))
        path2.addLine(to: CGPoint(x: 100, y: 0))
        path2.addLine(to: CGPoint(x: 200, y: 200))
        path2.addLine(to: CGPoint(x: 0, y: 200))

        let path3 = UIBezierPath(ovalIn: CGRect(x: 50, y: 100, width: 100, height: 100))

        let shapeLayer1 = CAShapeLayer()
        shapeLayer1.path = path1.cgPath
        shapeLayer1.strokeColor = UIColor.black.cgColor
        shapeLayer1.fillColor = UIColor.orange.cgColor
        shapeLayer1.lineWidth = 3

        let shapeLayer2 = CAShapeLayer()
        shapeLayer2.path = path2.cgPath
        shapeLayer2.strokeColor = UIColor.red.cgColor
        shapeLayer2.fillColor = UIColor.green.cgColor
        shapeLayer2.lineWidth = 3

        let shapeLayer3 = CAShapeLayer()
        shapeLayer3.path = path3.cgPath
        shapeLayer3.fillColor = UIColor.orange.cgColor
        shapeLayer3.lineWidth = 3
        shapeLayer3.strokeColor = UIColor.black.cgColor

        containerView.layer.addSublayer(shapeLayer1)
        containerView.layer.insertSublayer(shapeLayer2, above: shapeLayer1)
        containerView.layer.insertSublayer(shapeLayer3, above: shapeLayer2)
}
Output looks like this:
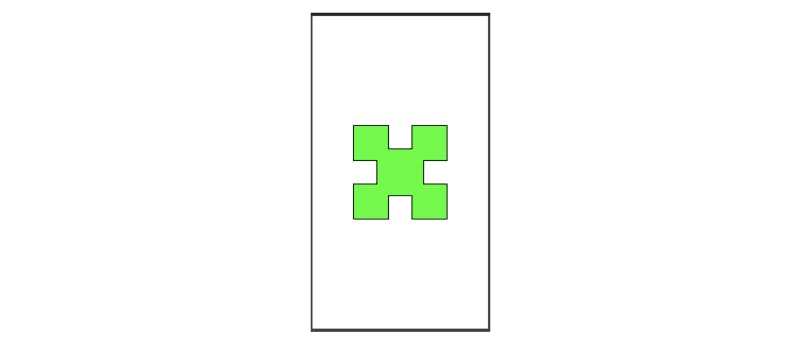
Drawing a random shape
Let’s create a random shape using all the things that we have learnt so far.
private func drawRandomShape() {

        let path = UIBezierPath()
        path.move(to: CGPoint(x: 0, y: 200))

        path.addLine(to: CGPoint(x: 0, y: 125))
        path.addLine(to: CGPoint(x: 50, y: 125))
        path.addLine(to: CGPoint(x: 50, y: 75))
        path.addLine(to: CGPoint(x: 0, y: 75))
        path.addLine(to: CGPoint(x: 0, y: 0))

        path.addLine(to: CGPoint(x: 75, y: 0))
        path.addLine(to: CGPoint(x: 75, y: 50))
        path.addLine(to: CGPoint(x: 125, y: 50))
        path.addLine(to: CGPoint(x: 125, y: 0))
        path.addLine(to: CGPoint(x: 200, y: 0))

        path.addLine(to: CGPoint(x: 200, y: 75))
        path.addLine(to: CGPoint(x: 150, y: 75))
        path.addLine(to: CGPoint(x: 150, y: 125))
        path.addLine(to: CGPoint(x: 200, y: 125))
        path.addLine(to: CGPoint(x: 200, y: 200))

        path.addLine(to: CGPoint(x: 125, y: 200))
        path.addLine(to: CGPoint(x: 125, y: 150))
        path.addLine(to: CGPoint(x: 75, y: 150))
        path.addLine(to: CGPoint(x: 75, y: 200))
        path.addLine(to: CGPoint(x: 0, y: 200))

        let shapeLayer = CAShapeLayer()
        shapeLayer.path = path.cgPath
        shapeLayer.strokeColor = UIColor.black.cgColor
        shapeLayer.lineWidth = 2
        shapeLayer.fillColor = UIColor.green.cgColor

        containerView.layer.addSublayer(shapeLayer)
}
Output looks like this:
Wrapping Up
This was all about getting started with CAShapeLayer in iOS. If you have any doubts then feel free to discuss in the comments.